-
=][= Thought for the Day =][=
The cosmos cries out for salvation
Forums
-
++ GUESTS, ADVERTISERS, AND LOGGED OUT MEMBERS ++
-
+ REGISTERING AN ACCOUNT + (34048 visits to this link)
-
+ RECOVERING ACCESS TO YOUR ACCOUNT + (15219 visits to this link)
-
+ ADVERTISING AT THE B&C + (34314 visits to this link)
-
-
++ COMMUNITY ++
-
- 60.9k
- posts
-
- 76.1k
- posts
-
- 2.9k
- posts
-
- 10.2k
- posts
-

- 446
- posts
-
-
++ SITE FEATURES ++
-
++ AN ETERNITY OF WAR: SETTING AND LORE ++
-
- 2.2k
- posts
-
- 215.7k
- posts
-
- 76.7k
- posts
-
-
++ STRATEGIUM: RULES AND GAME PLAY ++
-
- 121.6k
- posts
-
- 95.9k
- posts
-
- 24.4k
- posts
-
- 6.3k
- posts
-
- 4.3k
- posts
-
- 15.6k
- posts
-
- 12.5k
- posts
-
-
++ FORGE: HOBBYIST CREATIVITY ++
-
- 74.7k
- posts
-
- 433.5k
- posts
-
- 106k
- posts
-
- 9.6k
- posts
-
- 20.7k
- posts
-
- 86.3k
- posts
-
- 7.2k
- posts
-
-
++ IMPERIUM ++
-
- 38.3k
- posts
-
- 855.4k
- posts
-
- 28.7k
- posts
-
- 86.7k
- posts
-
- 9.5k
- posts
-
- 7.5k
- posts
-
- 8.3k
- posts
-
-
++ CHAOS ++
-
- 14.9k
- posts
-
- 1.2k
- posts
-
- 224k
- posts
-
- 4.5k
- posts
-
-
++ XENOS ++
-
- 6.8k
- posts
-
- 3.2k
- posts
-
- 2.9k
- posts
-
- 2.5k
- posts
-
- 10k
- posts
-
- 7.7k
- posts
-
- 6.2k
- posts
-
- 6.4k
- posts
-
-
++ ORDO ADMINISTRATUM ++
-
- 23
- posts
-
- 127
- posts
-
- 406
- posts
-
- 2k
- posts
-


.thumb.jpg.9ccde445416c2b007964cebcbf53ac08.jpg)


-
Who's Online
- Mogger351
- Ammonius
- SixOfOne
- Crimson Longinus
- Dezron
- Dr_Ruminahui
- Trokair
- Madao
- Knightsword
- ValourousHeart
- Remain_Indoors
- Jukkiz
- Focslain
- Dried
- Ace Debonair
- Plunge
- sitnam
- W.A.Rorie
- Spagunk
- firestorm40k
- Robbienw
- Irongert
- SvenIronhand
- nodnol88
- Brother Casman
- Vassakov
- Blurgh
- Uprising
- MoriyaSchism
- jaxom
- Slaanbull
- Joe
- Helford
- HUDCommander
- MechaMan
- de Selby
- Orange Knight
- Mazer Rackham
- A.T.
- Kommisar_K
- Khulu
- GnomeSatan
- Codex Grey
- Wispy
- Apokalypsi
- ZeroWolf
- Kyari
- Ahzek451
- The Scorpion
- MadEdric
- thesarge44
- Mmmmm Napalm
- Galloway
- TheMawr
- Matteus
- Brother Tyler
- Kaiju Soze
- Tawnis
-
Member Statistics
52943
Total Members3553
Most Online
-
Forum Statistics
132.5k
Total Topics3.1m
Total Posts
-
Upcoming Events
No upcoming events found -
Latest Blog Entries
-
-
Recent Blog Comments
-
 It turned out ok in the end, but it was really annoying at the time.
 -
 Thanx. Now I just encourage other members of the club to try holding the bar too! BTW you should think about joining, I am sure you will have enough hobby material to come until end of year to get a well filled card of yours too.
 -
 Well done, brother. Ave Imperator. Should you ever call, the Spite Crusade will answer. To your glory, and the glory of Him on Earth.
-
-
Newest Topics
-
-
Donate
Please donate to support the Bolter & Chainsword.
We appreciate all donations!Donate Sidebar by DevFuse -
Latest Club Activity
-
The Nook (40k RPG Play-by-Post)
Open Club · 23 members
-
![=] 12 Months of Hobby 2026 [=](https://bolterandchainsword.com/uploads/monthly_2025_12/Snazzycopy.png.6e886eac448303e6e2745f233d5970e1.png)
=] 12 Months of Hobby 2026 [=
Public Club
-

Bunker Bingo 2026 Challenge!
Open Club · 12 members
-
+Some Things Are Best Left Forgotten+
Open Club · 14 members
-
Introducing kids to 40k
Open Club · 11 members
-
-
Recent Articles
-
Recent Files
-
-
Recently Updated Albums
-
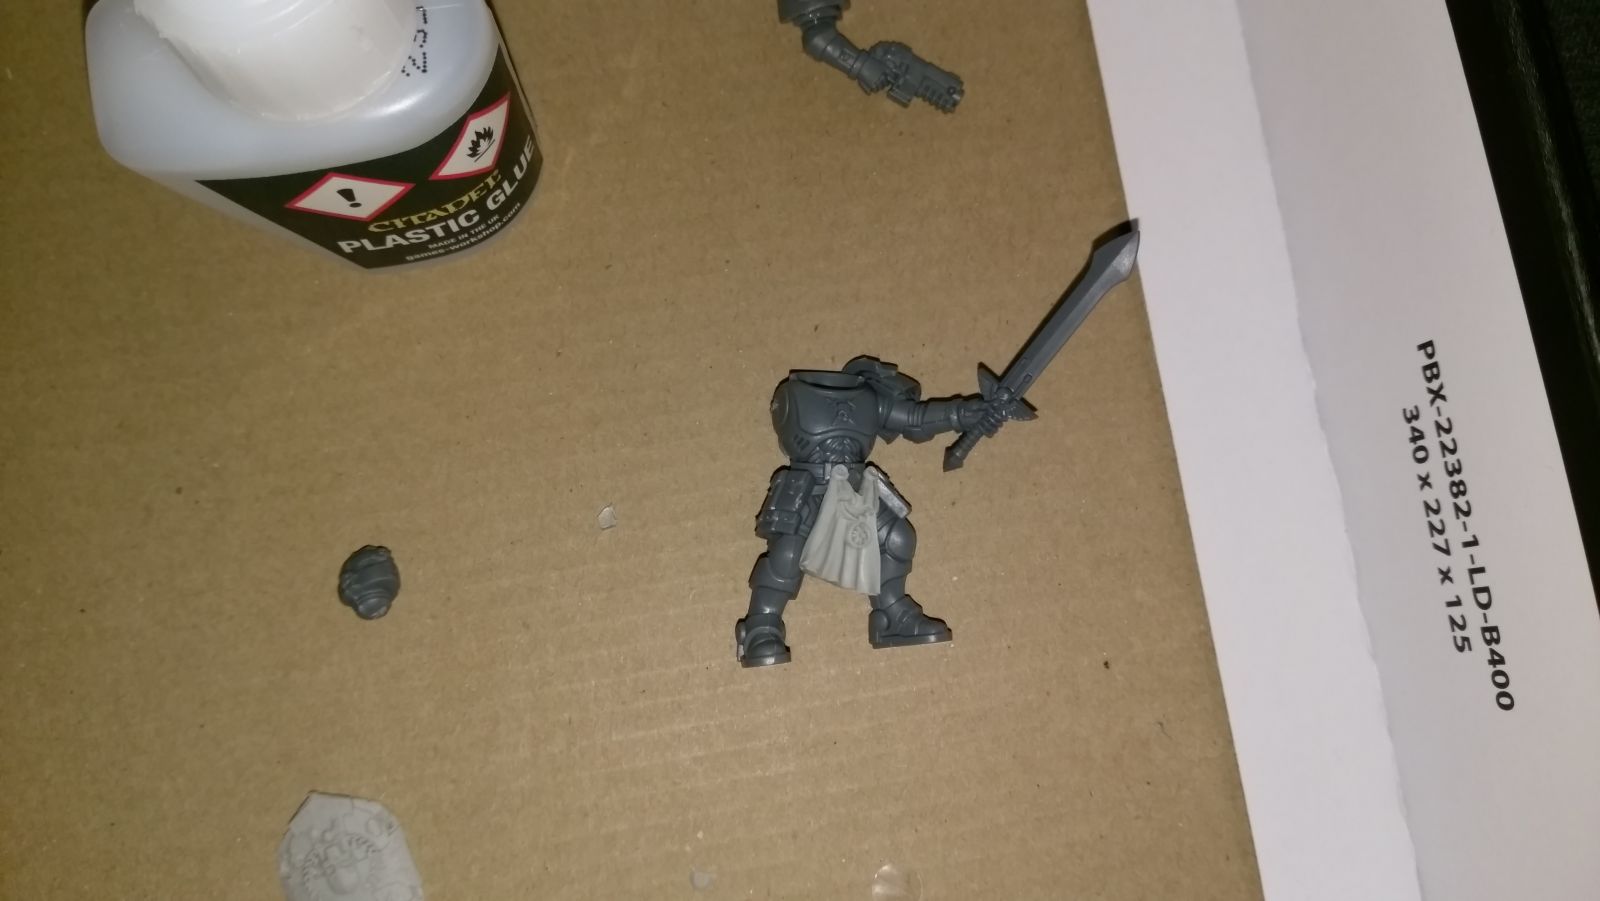
Forging a Chapter
- By Knightsword,
- 0
- 2
- 711
-
The Veeaitchez clan
- By Rowland,
- 0
- 0
- 14
-
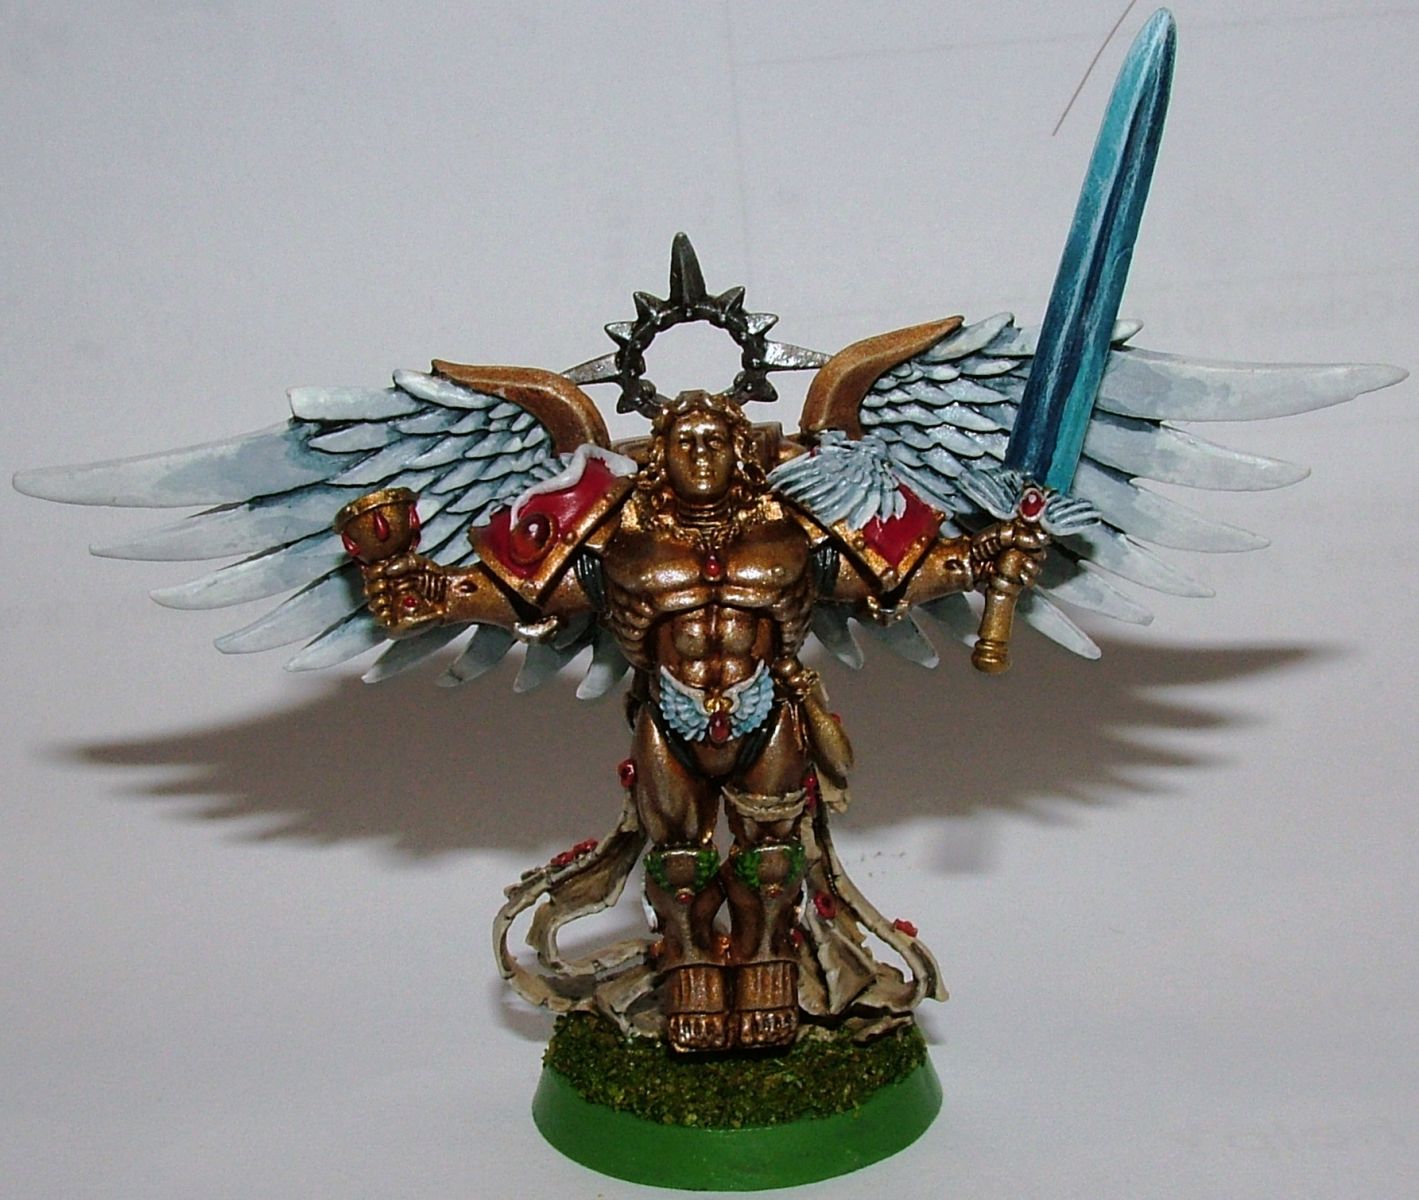
Karhedronuk's Blood Angel Album
- By Karhedron,
- 0
- 2
- 65
-

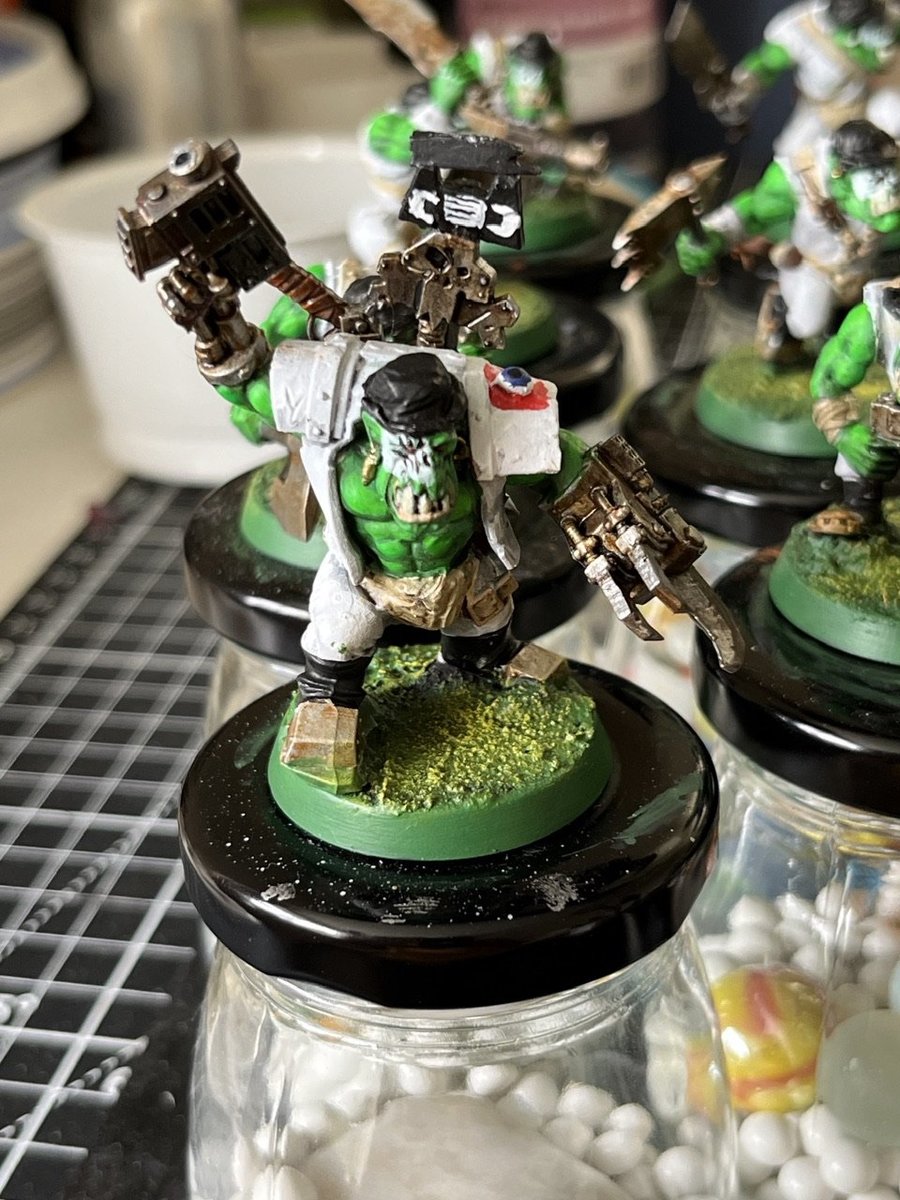
Ikka's stuff
- By Lord_Ikka,
- 0
- 4
- 236
-

Madao 12 MoH 2026
- By Madao,
- 0
- 0
- 17
-
-
Recent Achievements
-