-
=][= Thought for the Day =][=
The Space Marines fear no evil for we are Fear Incarnate.
Forums
-
++ GUESTS, ADVERTISERS, AND LOGGED OUT MEMBERS ++
-
+ REGISTERING AN ACCOUNT + (33981 visits to this link)
-
+ RECOVERING ACCESS TO YOUR ACCOUNT + (15156 visits to this link)
-
+ ADVERTISING AT THE B&C + (34092 visits to this link)
-
-
++ COMMUNITY ++
-
- 60.4k
- posts
-
- 76k
- posts
-
- 2.9k
- posts
-
- 10.2k
- posts
-

- 446
- posts
-
-
++ SITE FEATURES ++
-
++ AN ETERNITY OF WAR: SETTING AND LORE ++
-
- 2.2k
- posts
-
- 215.7k
- posts
-
- 76.6k
- posts
-
-
++ STRATEGIUM: RULES AND GAME PLAY ++
-
- 121.5k
- posts
-
- 95.9k
- posts
-
- 24.4k
- posts
-
- 6.3k
- posts
-
- 4.3k
- posts
-
- 15.6k
- posts
-
- 12.5k
- posts
-
-
++ FORGE: HOBBYIST CREATIVITY ++
-
- 74.7k
- posts
-
- 433.4k
- posts
-
- 106k
- posts
-
- 9.6k
- posts
-
- 20.7k
- posts
-
- 86.3k
- posts
-
- 7.2k
- posts
-
-
++ IMPERIUM ++
-
- 38.3k
- posts
-
- 855.4k
- posts
-
- 28.7k
- posts
-
- 86.7k
- posts
-
- 9.5k
- posts
-
- 7.5k
- posts
-
- 8.3k
- posts
-
-
++ CHAOS ++
-
- 14.9k
- posts
-
- 1.2k
- posts
-
- 224k
- posts
-
- 4.5k
- posts
-
-
++ XENOS ++
-
- 6.8k
- posts
-
- 3.2k
- posts
-
- 2.9k
- posts
-
- 2.5k
- posts
-
- 10k
- posts
-
- 7.7k
- posts
-
- 6.2k
- posts
-
- 6.4k
- posts
-
-
++ ORDO ADMINISTRATUM ++
-
- 23
- posts
-
- 127
- posts
-
- 406
- posts
-
- 2k
- posts
-


-
Who's Online
-
Member Statistics
52931
Total Members3553
Most Online
-
Forum Statistics
132.5k
Total Topics3.1m
Total Posts
-
Upcoming Events
No upcoming events found -
Latest Blog Entries
-
-
Recent Blog Comments
-
 Great idea, but I am to OCD to use different marines (First born and Primaris). So later on I might do a Malleus or Deathwatch group. I have 32mm magnets, that I am planning to use with my Genestealers. So will try that when I get to basing the Genestealers, and show how I plan to do that. Basically model on 25mm base, then that on a 32mm magnet (sheet magnet) and then build up on the magnet with greenstuff. Lets me have a magnet and not have to rebase everything and not have a base on a b
 -
By GSCUprising · Posted
A nice bit of nostalgia there. Thank you! I have three or so of the old Termies shown. If I may suggest, if you wanted to use them in a current game, I'm sure you're aware they require a larger diameter base. My solution for this was to adhere the model to its then standard 25mm then place said base on the current correct one. This not only gives it the correct diameter base but also goes some way to increasing the height so it's less of a tiny termie next to current models. -
 That's a good idea, I usually use the Trail Shaper for that and re-deploy, but that's basically 55 points just to do that, you could easily make up the difference with taking out something like 5 hounds and you'll probably get more out of that, especially if you have T'au proper units to guide. Something for me the think about too.
-
-
Newest Topics
-
-
Donate
Please donate to support the Bolter & Chainsword.
We appreciate all donations!Donate Sidebar by DevFuse -
Latest Club Activity
-

Bunker Bingo 2026 Challenge!
Open Club · 12 members
-
![=] 12 Months of Hobby 2026 [=](https://bolterandchainsword.com/uploads/monthly_2025_12/Snazzycopy.png.6e886eac448303e6e2745f233d5970e1.png)
=] 12 Months of Hobby 2026 [=
Public Club
-
The Nook (40k RPG Play-by-Post)
Open Club · 23 members
-
+Some Things Are Best Left Forgotten+
Open Club · 14 members
-

Introducing kids to 40k
Open Club · 11 members
-
-
Recent Articles
-
Recent Files
-
-
Recently Updated Albums
-

Tortuga scale miniatures
- By Elzender,
- 0
- 0
- 3
-
Bouargh's Night Lords
- By Bouargh,
- 0
- 0
- 5
-
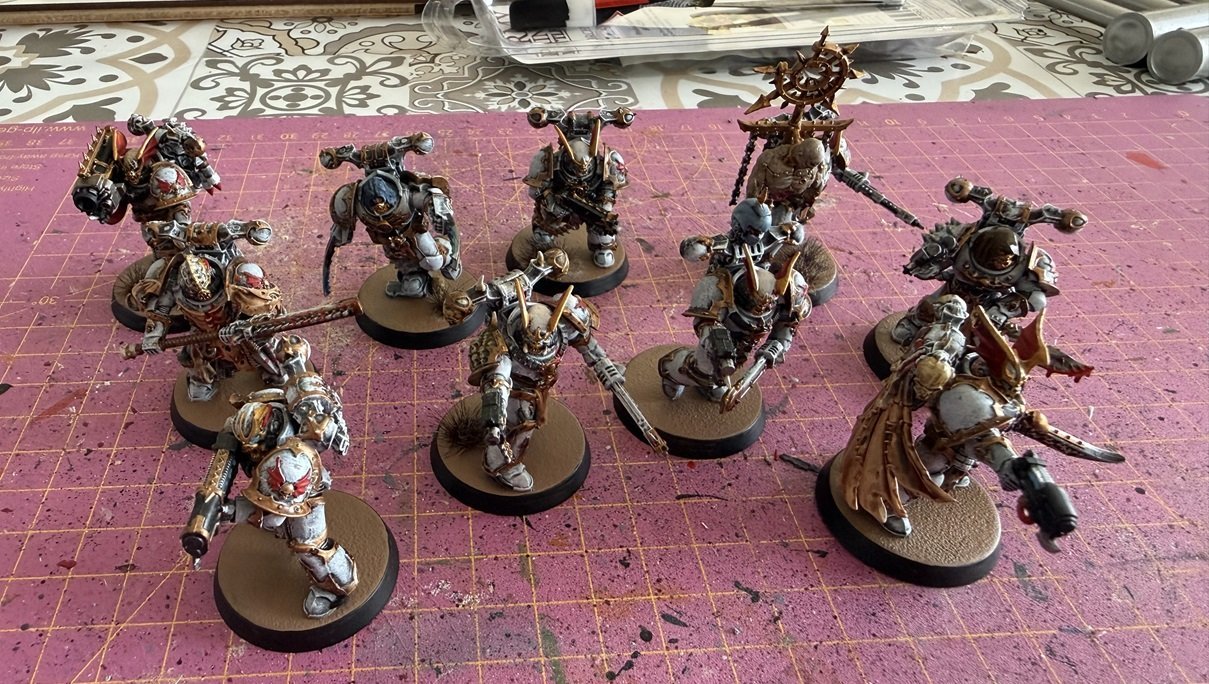
Dr. Ruminahui's Chaos Space Marines
- By Dr_Ruminahui,
- 0
- 5
- 40
-

Wormwood Sons Kill Team
- By MoriyaSchism,
- 1
- 0
- 13
-

Ikka's stuff
- By Lord_Ikka,
- 0
- 4
- 202
-
-
Recent Achievements
-