-
=][= Thought for the Day =][=
Better crippled in body than corrupt in mind.
Forums
-
++ GUESTS, ADVERTISERS, AND LOGGED OUT MEMBERS ++
-
+ REGISTERING AN ACCOUNT + (32801 visits to this link)
-
+ RECOVERING ACCESS TO YOUR ACCOUNT + (13794 visits to this link)
-
+ ADVERTISING AT THE B&C + (30655 visits to this link)
-
-
++ COMMUNITY ++
-
- 50.5k
- posts
-
- 74.9k
- posts
-
- 2.9k
- posts
-
- 9.9k
- posts
-

- 396
- posts
-
-
++ SITE FEATURES ++
-
++ AN ETERNITY OF WAR: SETTING AND LORE ++
-
- 2.1k
- posts
-
- 215.5k
- posts
-
- 75.7k
- posts
-
-
++ STRATEGIUM: RULES AND GAME PLAY ++
-
- 121.2k
- posts
-
- 95.3k
- posts
-
- 24.3k
- posts
-
- 6.3k
- posts
-
- 4.3k
- posts
-
- 15.6k
- posts
-
- 12.4k
- posts
-
-
++ FORGE: HOBBYIST CREATIVITY ++
-
- 74.4k
- posts
-
- 431.1k
- posts
-
- 105.7k
- posts
-
- 9.6k
- posts
-
- 20.6k
- posts
-
- 86.2k
- posts
-
- 7.1k
- posts
-
-
++ IMPERIUM ++
-
- 38.2k
- posts
-
- 854.2k
- posts
-

- BA Today
- By Blindhamster,
-
- 28.7k
- posts
-
- 86.6k
- posts
-
- 9.5k
- posts
-
- 7.5k
- posts
-
- 8.2k
- posts
-
-
++ CHAOS ++
-
- 14.9k
- posts
-
- 1.1k
- posts
-
- 223.5k
- posts
-
- 4.3k
- posts
-
-
++ XENOS ++
-
- 6.6k
- posts
-
- 3.1k
- posts
-
- 2.9k
- posts
-
- 2.5k
- posts
-
- 10k
- posts
-
- 7.7k
- posts
-
- 6.2k
- posts
-
- 6.4k
- posts
-
-
++ ORDO ADMINISTRATUM ++
-
- 21
- posts
-
- 127
- posts
-
- 375
- posts
-
- 2k
- posts
-


-
Who's Online
-
Member Statistics
52753
Total Members3553
Most Online
-
Forum Statistics
131.8k
Total Topics3.1m
Total Posts
-
Upcoming Events
-
Latest Blog Entries
-
-
Recent Blog Comments
-

By Lathe Biosas · Posted
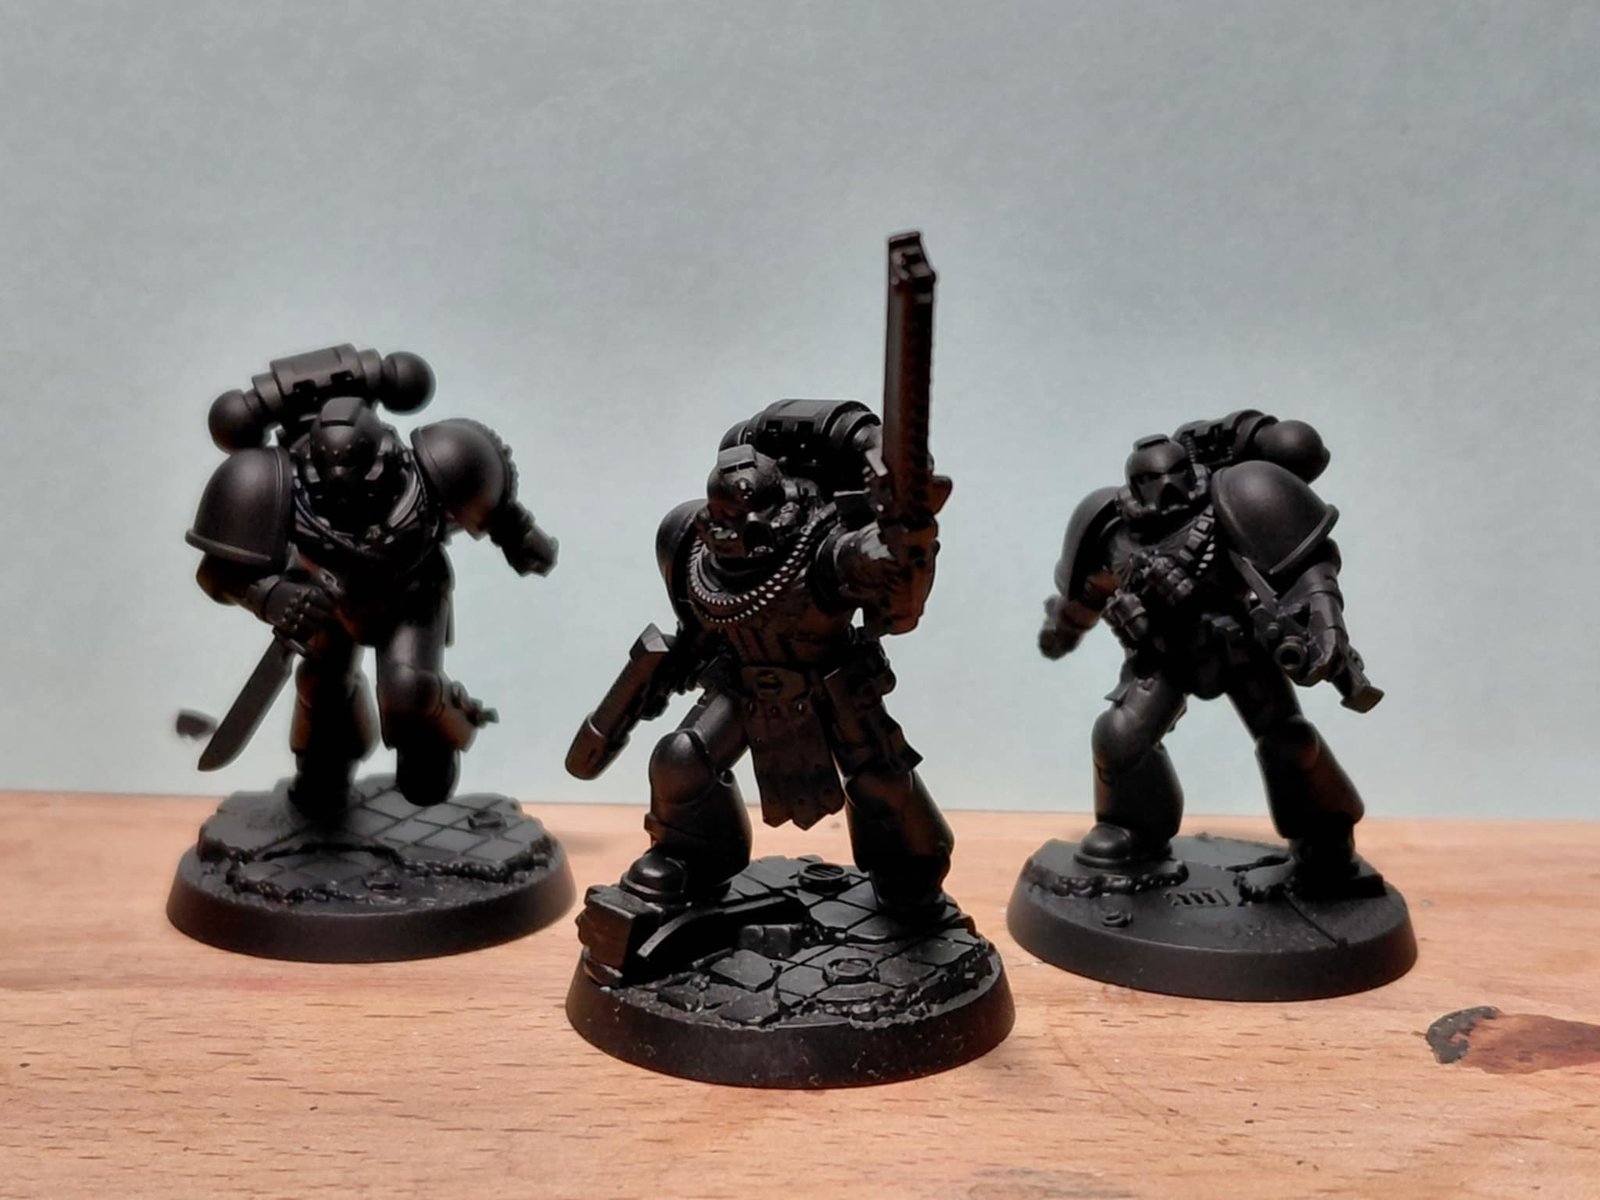
Ordered some Intercessors. I'm going to build them without shoulderpads. I'm going to get some molded Blood Ravens pads in January. -
By GSCUprising · Posted
That said, without playing WH40K, would I have dreamed up our Narrator or Laska? Would I have created the stalwart bastion that is Brutus, the Malcador, or the terrifying howl of 329? I think not. I may have come close, but there is nothing like looking over from my keyboard in front of me right now and seeing 329 and the Iron Duke painted and ready to defend my Resistance guys and gals. Having played and collected for some 30+ years, would I even be the same person without that infl -
By GSCUprising · Posted
Thank you. I am a big fan of the lore of WH40K,. Its depth spans across of most of my 40-ish lifetime and I really enjoy reading the Black Library stuff. However, my story, which originally started out as a GSC story, has taken its own turn, so it feels more appropriate for it to become its own thing. I'll continue publishing here, but, if I take it elsewhere, it'll be de-40K'd.
-
-
Newest Topics
-
-
Latest Club Activity
-

The Nook (40k RPG Play-by-Post)
Open Club · 18 members
-

Oldhammer 40k
Public Club
-

Introducing kids to 40k
Open Club · 5 members
-
The RPG (Night) Club
Open Club · 11 members
-

South America
Public Club
-
-
Recent Articles
-
Recent Files
-
Recently Updated Albums
-
Harbingers of Taelus
- By Smoke Frog,
- 0
- 0
- 163
-
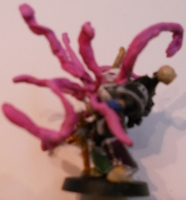
Teetengee Chaos
- By Teetengee,
- 0
- 0
- 218
-
Tallarn Commander's Chaos
- By Tallarn Commander,
- 0
- 1
- 5266
-
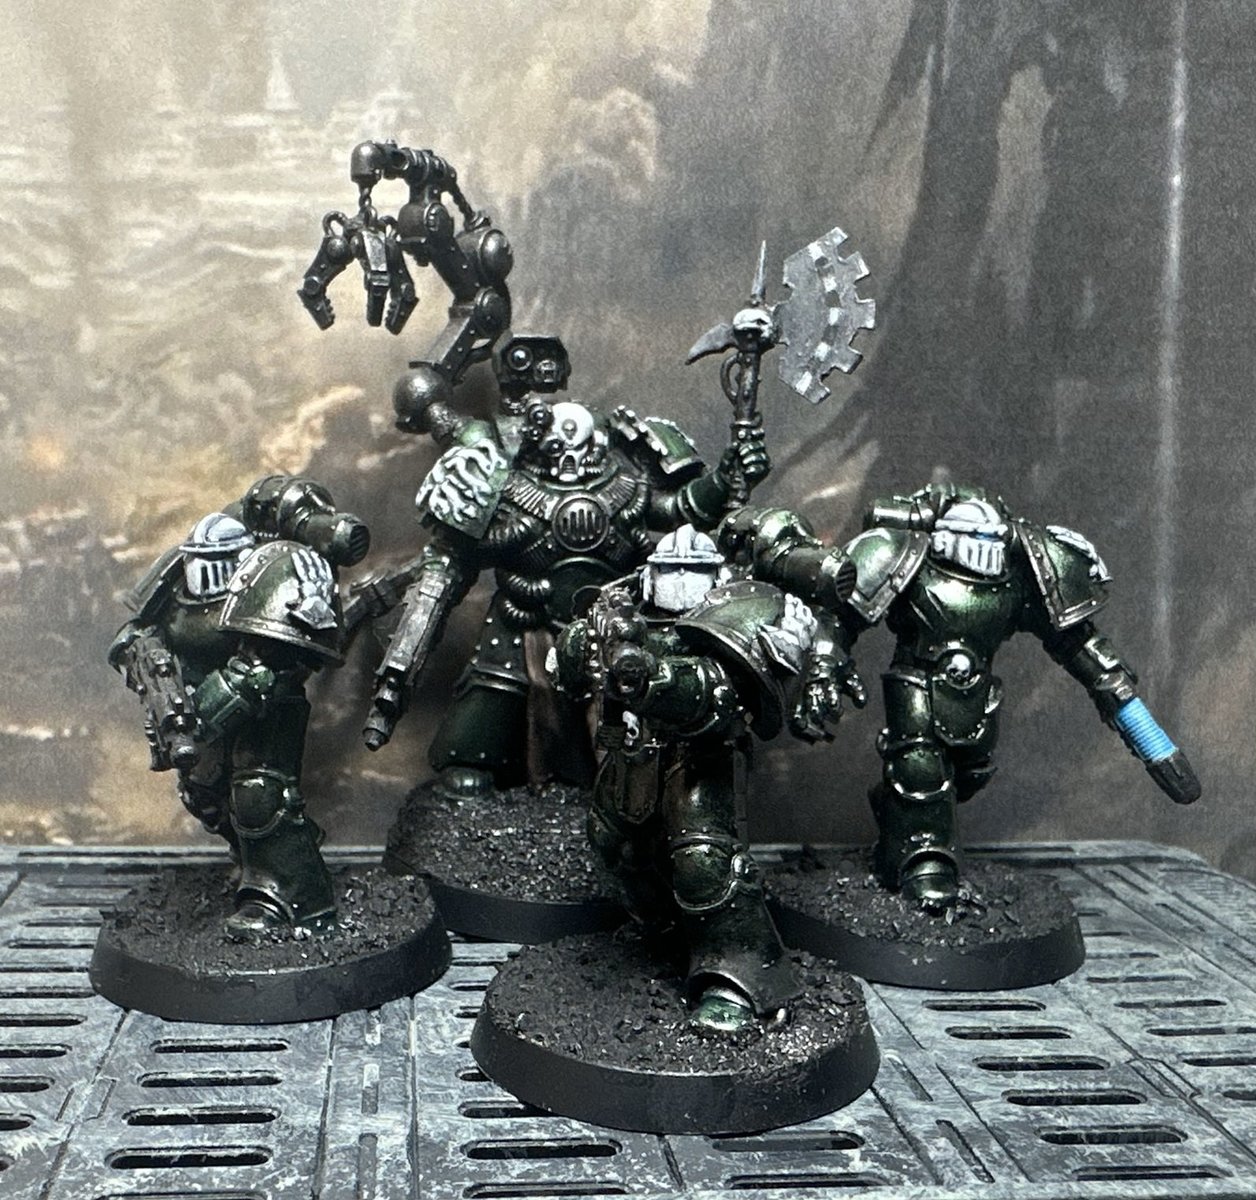
Raeven's Legio Marines
- By Chaplain Raeven,
- 0
- 1
- 1
-
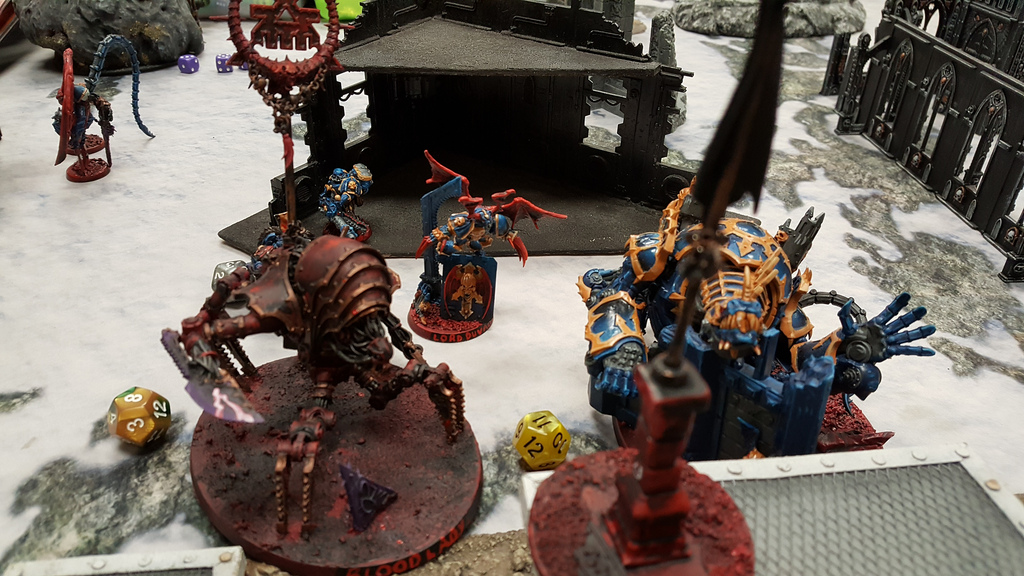
Batreps
- By TiguriusX,
- 0
- 0
- 324
-
-
Recent Achievements


")